What You Need to Include in Your Kitesurfing Gear Bag
At a long last time for your kiteboarding vacation. You have been dreaming about this for months and at this instant, it is only a few days away. In spite of everything, you should take a further second to think about your repair kit. Also, there are a few steps and techniques that you might find practical and facilitate getting you back on the water. Bladder leaks are the number one cause that traveling kiters fail to spot sessions. Yet by way of a little planning you can greatly diminish riding time lost to bladder breakdown.
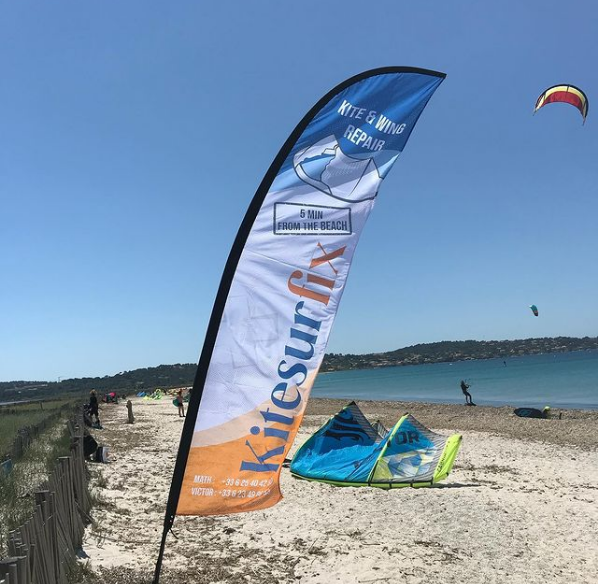
Repair kit
The first thing you must put in your bladder
repair kit is alcohol. One of the major mistakes you can make at what time
repairing a bladder is not cleaning it well as much as necessary. This step is very
significant. If at all possible you will be in your room or in any case an area
protected from blowing sand and dirt. Clean the wing valve too prior to moving at the forefront.

If you have a solitary point inflation system
on your kite there are most expected some spare parts that would be helpful to
have extras. The most widespread here are the small fastener ties; bring 5-10
of these. These are used to make tighter the hoses down to the nipples on top
of many kite brands. Even though your kite uses a fancier clip, you could reinstate
that with a zip tie if you misplaced one.
So you were well turned out having packed up
your repair kit. Now you are in kiteboarding heaven watching from the shore for
the reason that you have a leaking bladder. The biggest blunder individuals make
now is to take the wing valve and
bladder out of the kite. Not yet, first, you want to stumble on the leak. The
smaller the leak is the more difficult they are to locate. The most excellent way to
find the leak is to pump up the kite and hold sections of it submerged and search
for bubbles. If your kite will not embrace air then have a buddy hold it underneath the water at the same time as you pump air.
Patching techniques
Practicing patching techniques is how you dig
up good at it. Time and again, patches will not embrace air and this is exasperating.
Yet if you fix it and carry on to try to master techniques and even try-out
out new ones you too can one day turn into a master. The tip of the day is:
for tricky areas consider patching from within. Often times you can find
holes sealed up easier from the inside more willingly than from the outside.
A bit of duct tape will be enough to cover up
any small rips within your kite until you can dig up it to a repair shop, although
a dedicated kite patch would be well again. This will allocate you to at least
get out on top of the water if you turn up at the beach and your kite has strangely
developed a small tear at once.
Comments
Post a Comment